Part 3 - Tree Tiles
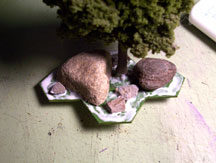
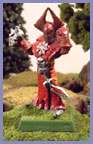
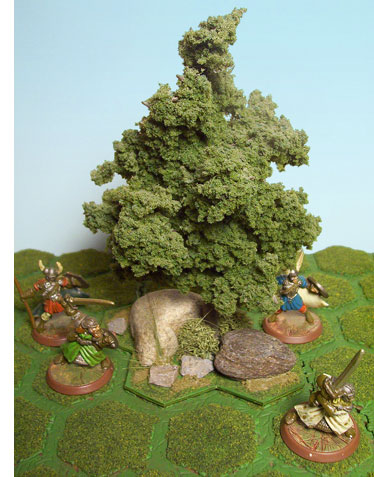 Here’s my next entry in my ongoing customized hex tiles tutorials. To the right is one of my finished tree/forest tiles complete with rocks/grass. (Please note that the figures shown are from the Heroscape game. While they are a little bit larger than the 28mm figures commonly available most of them fit in to my figure collection very well, especially the monsters. The round bases do present a problem when it comes to facing, however you can solve that by putting a black dot with a marker on the base and point that towards the front hex side.)
Here’s a step-by-step on how the tree's are done:
Materials:
You will need spray mount, matt board or illustration board, xacto knife, printer, store bought trees HO scale (Woodland Scenics work great), small rocks, flocking (the same color that you use to flock you hex tiles with is best) and glue.
Step 1: Making the base
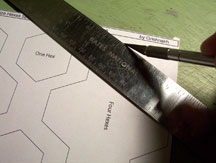
The first thing to do is to print out the base template. I have made the hex shapes on these in such a way that they will perfectly fit onto a Heroscape hex tile with out any overlap. You can download the hex template on my Hex Sheet page.
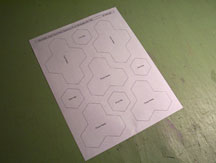
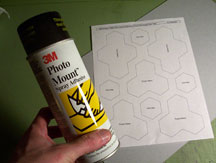
The next thing to do is to “lightly” spray mount the printed template onto a sheet of illustration board or matt board. Only spray the back of the printout, not the illustration board. The idea is to temporarily hold the template onto the board while you cut it out. Whichever board you use is up to you. If you want these to be really durable then go with the illustration board. The draw backs are it is harder to trim out due to it’s thickness and it stands a little higher when placed on the gaming surface. You’ll also have to paint it to match your tiles just in case the flocking doesn’t completely cover the white of the board which throws in an extra step. The advantages of mat board is you can buy it in a green color that closely matches the color you choose to do your tiles in (so you will not have to paint it) and it is easier to cut. Of course, because it is thinner, it is easier to bend up the corners. Personally I’ve used both and I’ve never had any trouble with either one. You should be careful with your scenery regardless of what you use so I vote for the thinner board simply for easy of use.
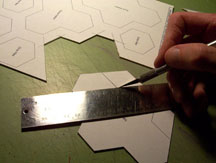
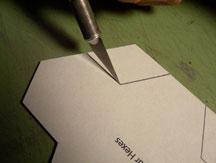
After you have spray mounted the template to your board it’s a simple matter to trim it out with an xacto knife. Use a metal straight edge as shown and please be careful. Remember, you can cut yourself quicker with a dull knife rather than a sharp one so replace your blade often.
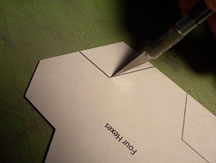
Sometimes you’ll have to go in and cut a little deeper into the corners of your cut. Cut down on one side and then the other. The important thing to attempt is not to cut into your base.
After the base has been trimmed out remove the template. You can toss this or if it’s not too cut up use it again on another piece of board.
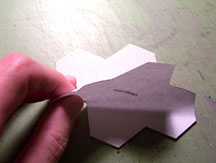
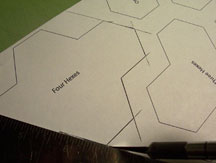
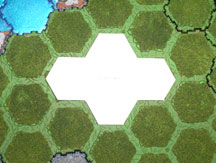
Here you can see how I’ve designed the bases to fit on the tiles:
If you’ve used illustration board the next step would be to paint the base with the same paint that you use on your tiles.
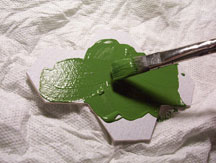
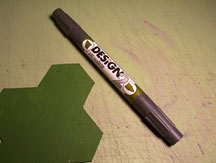
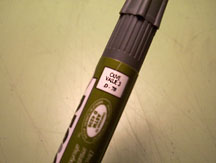
One thing you do not want is to have the white edge of the board showing up against the green of the flocked tile you place it on. Therefore you have to color in the edges of the base. The best way I’ve found is to use a broad tip marker such as a Design Marker to draw in the green on the edges. Olive Value # 3 works very well if you are using the same flock and paint colors that I have mentioned in my previous tutorilas. Simply go around the edge of your base with the marker. It’s that easy.

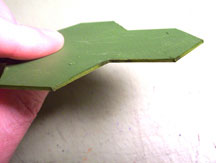
Here’s the finished edge:
Step 2: Planning the scenery elements:
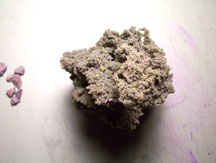
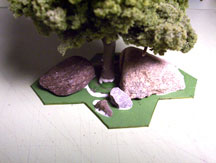
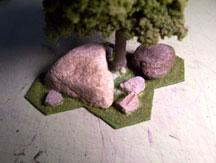
Next take your tree and some actual rocks or twigs (to represent fallen logs) and plan how they will fit on the base. By using real rocks you add weight to the scenery which in turn keeps it from being knocked over easily. When looking for rocks always search for ones that look like they would fit the scale of your figures. They should have as much character as possible and have a flat side that can be glued down.
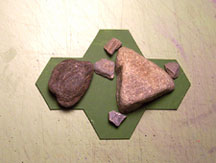
Another thing to plan is how the foliage of the tree will fit on the base to allow figures to stand next to it without having the tree itself interfere. Do this by looking straight down from above and then placing your tree so that it is directly over the base as much as possible.
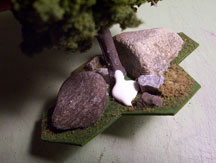
Step 3: Gluing it all down:
Now comes the easy part, gluing everything down. I use both Elmers and Tacky glue. The Tacky glue works best to hold the larger, heavier elements down such as the rocks and the trees. Put down a lot as you want this to hold down the items well. Most of this will be covered in flock so don’t worry about how it looks. I recommend that you let this dry overnight. (I use Elmers mainly to glue down flock since it comes out of the bottle thinner than the Tacky glue.)
Step 4: Flocking:
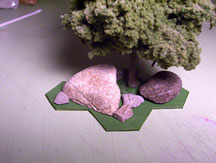
Next comes the green flock. I usually spread glue onto the base with a paint brush so that I can control where the glue goes. Afterwards dip the base into your flock and press it down with your finger if you need to. Refer to my previous customizing guides for more information about how to apply flock.
Once that dries then add in some dirt colored flock as shown. The dirt I used is Woodland Scenics number T60, Coarse Turf Earth.


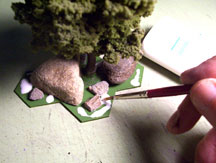
Next comes more glue and then bushes and static grass:
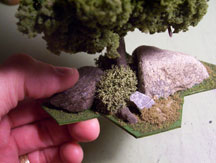

The bushes are made with torn off pieces of Woodland Scenics Medium Green Lichen.
That’s it! Next up I’ll talk about rock formations....
Terrain • Play Aides • Rules • Hex Sheets • History
Game Photos • Scenarios • Links • Miniatures
Click here to return to the home page • Visit my Web site at: davidomiller.com
