Part 5 - Old Dungeon Columns
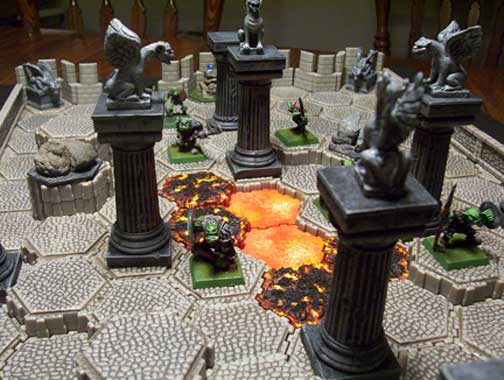
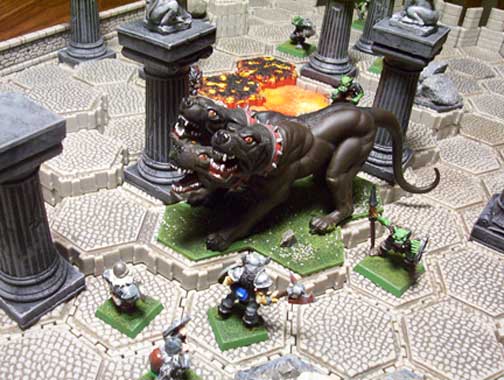
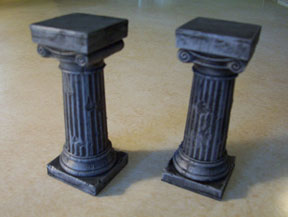
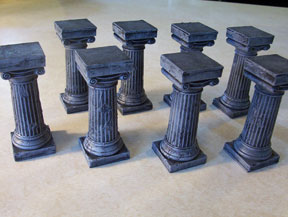
Here’s my fifth entry in my ongoing customized hex tile tutorials. These ancient, ruined columns work great on the battlefield and can be used in dungeon set ups as well. Below are a couple of pictures of my finished old columns in play. A step-by-step on how it’s done follows.
Materials:
You will need wedding cake columns which are available in the States at Michael’s Arts and Crafts stores. These come in two sizes, a tall version and a shorter version. This tutorial uses the shorter columns. You will also need double thick illustration board, modeling clay (or plasticine), an xacto knife, a pocket knife, white glue, a metal straight edge and black, white and brown acrylic paint.
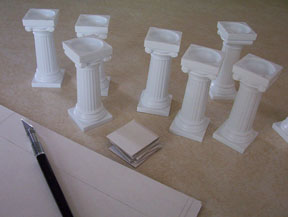
Step 1: Sealing the Columns
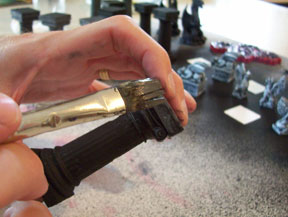
The first thing to do is to cut the illustration board into squares using the xacto knife and the straight edge. Measure and cut the board to the exact size of the top and the bottom of the columns.
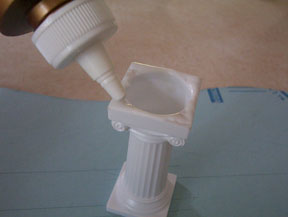
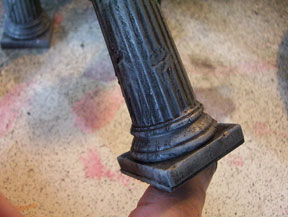
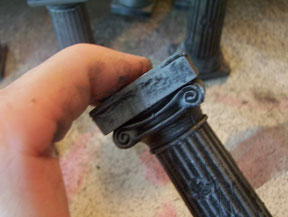
The next step is to glue the squares onto the top of the columns. These columns have a definite top and a bottom, look for the scroll work to determine the top of the column. The glue will stick to the smooth plastic fairly well but to assure a good bond it is advisable to “rough up” the top of the column a little bit with the xacto knife. (Not shown.) This will allow the glue to seep into the cuts and increase the strength of the bond. These cuts do not have to be very deep.
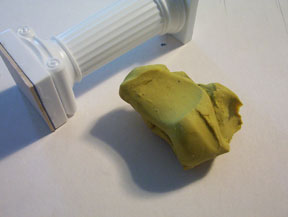
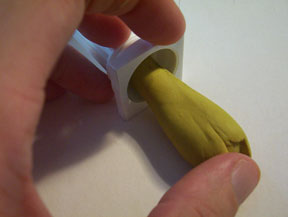
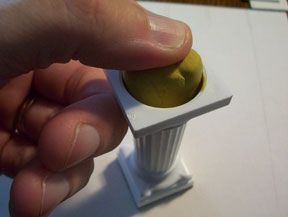
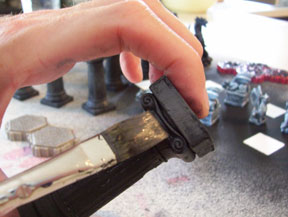
Next you will take the modeling clay and insert it into what will be the bottom of the column. This is to give the piece weight and help keep it from being knocked around (or over) easily during play. Without this step I’ve found these columns to be too top heavy. Simply roll the clay and insert it into the column, pushing it down and flush with the bottom edge. Put in enough clay so that it only goes into the bottom half of the column, too much clay will add weight to the top.
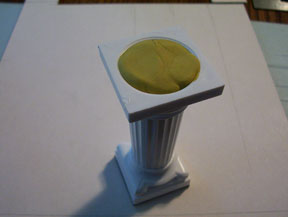
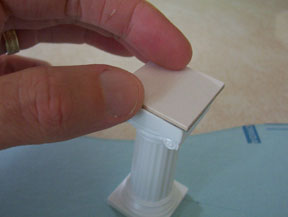
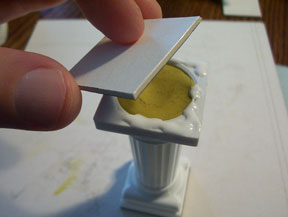
Lastly glue a square of illustration board to the bottom section. (The glue can go over the clay if you’d like but make sure to get the glue on the plastic column. You want to glue the board to the column, not just the clay.)
Step 2: Antiquing
After this has dried over night you can start distressing the columns so that they will look old. This is a great place to cut deeply into your finger so by all means be very careful. I use both an xacto knife and a pocket knife depending on the type of cut I want to make.
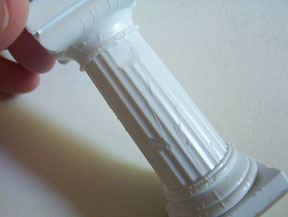
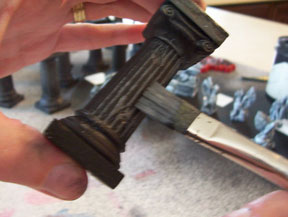
I use the xacto knife to gouge out deep chips in the column by using two cuts. Push the knife in at one angle and then again at another angle to remove the chip.
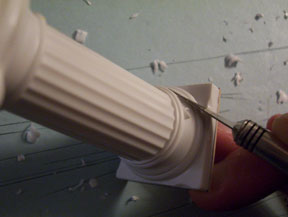
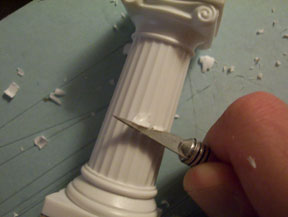
I use the pocket knife to both cut and to scrape the columns to further distress them.

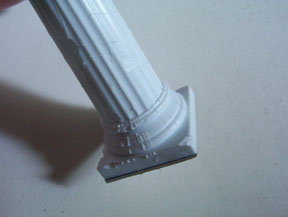
Here are some close ups of the finished distressed columns. You should endeavor to make it look like scrapped and chipped masonry.
Step 3: Painting
The next step is to paint them. You first paint the column solid black and then dry brush on successfully lighter shades of grey. You can either paint them black with a brush but I prefer to spray them with a black primer that is available at most hobby stores that sell model kits.
I then use a flat brush to dry brush on a middle color grey and after that dries, a lighter color grey. I use black and white paint to make the grey and I add a little dark brown color to the mixture just to help offset the flatness of the black. (More technically: I use Mars Black paint. Mars Black has blue in it. Mixed with White it will make a “cold” grey. To help tone that down and introduce some warm, earth colors back into the paint I use a Burnt Umber to help “warm” the color and make it a little bit richer.)
Here is my color palette:
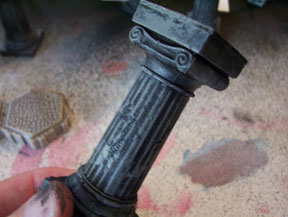
I first dry brush on a middle color grey using a downward stroke at the top and the bottom. I use a sideways stroke on the columns themselves (see example below). I also dry brush on some paint on the tops and the bottoms of the columns. (I paint the bottoms in case I want to lay the columns on their sides like they have fallen.)
After that is dry I apply the lighter shade. Be careful not to cover the middle color paint that you dry brushed on in the last step. The idea is to add a highlight color here.
Brush from the side on the columns.
Brush down on the top and the bottom.
The drybrush will really pick up the scrapes and chips that you created on the columns.
That’s it! Pretty easy actually.
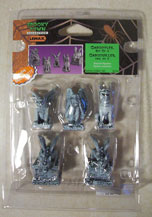
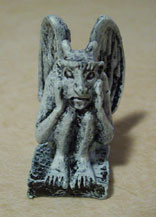
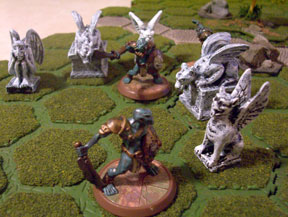
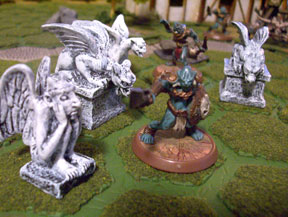
As a side note the Gargoyles shown at the tops of my columns are from Michael’s Arts and Crafts stores. The are only available around Halloween. While they look pretty good out of the package I actually repainted mine so they would more closely resemble the color of my columns. The (before painting) Gargoyles are shown below with some Heroscape Orcs.
Terrain • Play Aides • Rules • Hex Sheets • History
Game Photos • Scenarios • Links • Miniatures
Click here to return to the home page • Visit my Web site at: davidomiller.com
